Connect the Site Manager to a data source
The first thing to do is to define a data section to work with. If no database is existing, then a new empty database can be created from within the data configuration dialog.
Connecting to a new database
Connecting to a database or creating a new one is a part of the installation.
-
Open the Authenticated SQL Servers dialog by pressing the
 button in the Site Manager login screen.
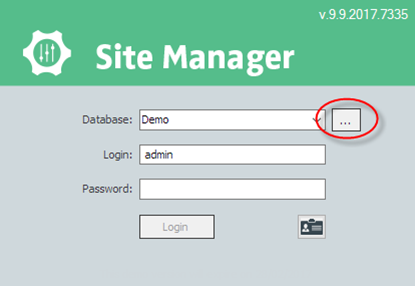
-
Select the green add
 button to add a database.
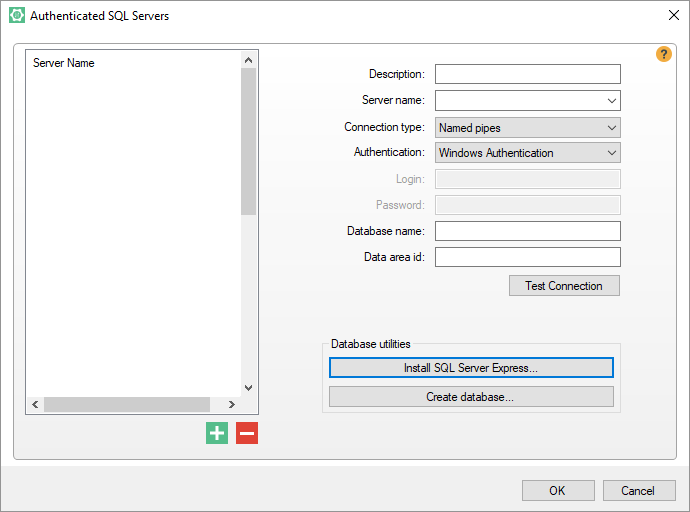
- Enter the database name and give your database connection a description. This description is displayed in the data source selection dropdown in the login screen and in the status bar of the Site Manager when you are logged in to this data base.
-
Click on the Create database button
If the database has an instance name (e.g. SQLEXPRESS), the entry in the text field Server name needs to run localhost\SQLEXPRESS. This was defined when you setup the SQL server.
It might be preferable to set the authentication to the database administrator account (instead to the default Windows Authentication).
- Test the connection by selecting the Test Connection button.
- A dialog appears stating “Connecting to database worked.” Click on OK to continue.
Once you have a working connection you can click OK to return to the login screen.
Now you have a new empty LS One database the login credentials are
| username: |
admin |
| password: |
1234 |
You will be asked to change the password the first time you login.
Now you can either create data for your company, see the Store setup checklist for help or import our demo data package for demonstrations or testing.
Import demo data
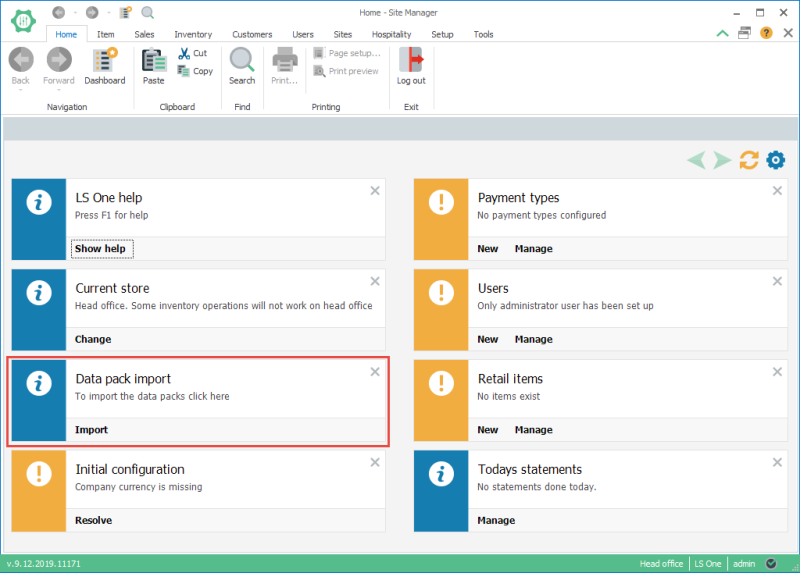
- Go to the Dashboard and click Import button on the Data pack import sticker on the dashboard.
-
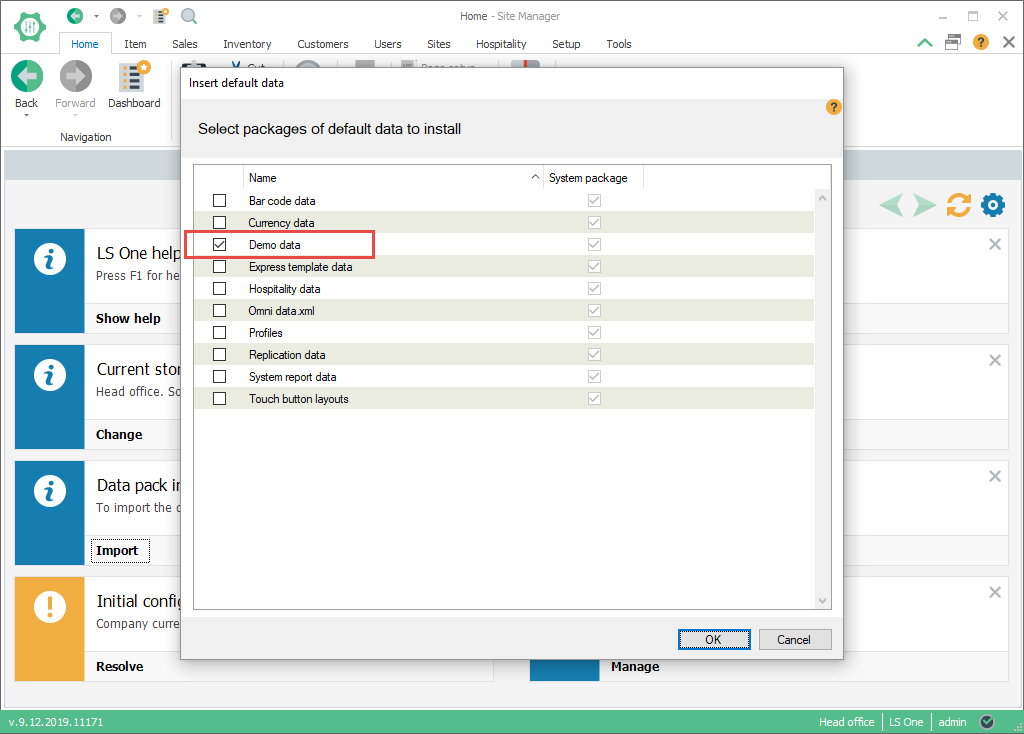
Select the checkbox by Demo data and System report data on the list and click OK button.

-
For more information about the other data packs available in the default data dialog please go to the LS One Online help.

Connecting to an existing database
Connecting the Site Manager to a database is a part of the installation.
-
Open the Authenticated SQL Servers dialog by pressing the
button in the Site Manager login screen.
-
Select the green add
button to add a database.
- Enter the database name and give your database connection a description. This description is displayed in the data source selection dropdown in the login screen and in the status bar of the Site Manager when you are logged in to this data base.
- Test the connection by selecting the Test Connection button.
- A dialog appears stating “Connecting to database worked.” Click on OK to continue.
Now you have a connection to your LS One database.

