Install the Site Manager
Before installing Site Manager 2017.2 please make sure you have administrative privileges on the computer where you plan to install the application. In order for the POS to operate, the following software prerequisites must be met:
The Site Manager requires one of the following operating systems:
- Windows 7 SP1 and later
- Windows Server 2008 R2 SP1 and later
The Site Manager runs on a database that requires SQL Server Express 2012 or SQL Server 2012 or later
- Start by downloading the Site Manager installation file. The installer for the Site Manager can be found on the partner portal (requires login).

Is there a SQL server or SQL Express installed on the machine?
If not make sure to download the Site Manager installs that includes the SQL Express server install you need for your machine.
- Place the Site Manager Setup application in a folder chosen for the purpose.


You need to have approximately 1 GB of free disk space for the application.
-
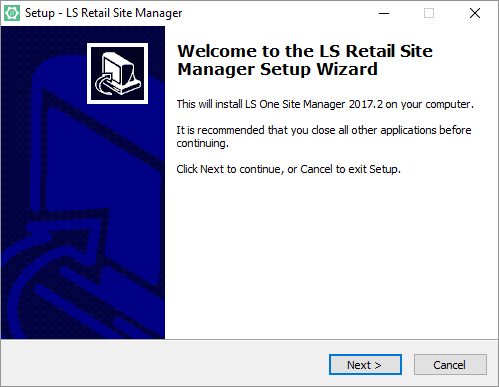
Once you have started the setup application you are prompted for permission to make changes to the computer. Press the Yes button to continue with the installation.
-
Select the language to use during the installation.
-
The Site Manager Setup Wizard asks you to follow a familiar step-by-step installation process.
- Select a path and folder name to where the program will be installed, then press Next.
- Select the checkbox if a desktop icon should be created and then press Next.
- Press Install to start the installation process.
- Press Finish completing the installation.
Troubleshooting
| Reviewed: | December 2019 |
| Version: |
LS One 2019.1 |

